People come to me often with questions about how to make their cakes look as professional as possible, and I always say, “it starts with the inside of the cake!” Because the outside can’t look good, if the inside is a hot mess! And the bottom line is that making a cake the right way, takes A LOT of time, especially if you’re making all of the recipes from scratch (you certainly don’t have to). But just know, store bought icing will not “act” the same way as American buttercream…they are totally different products!
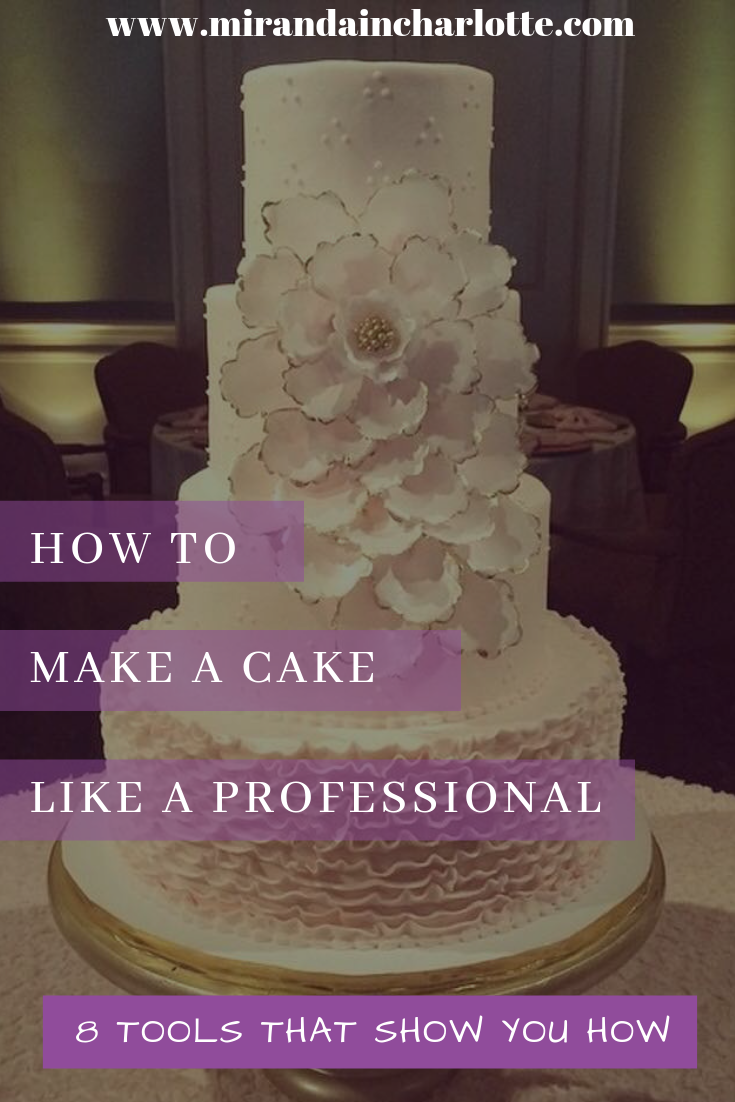
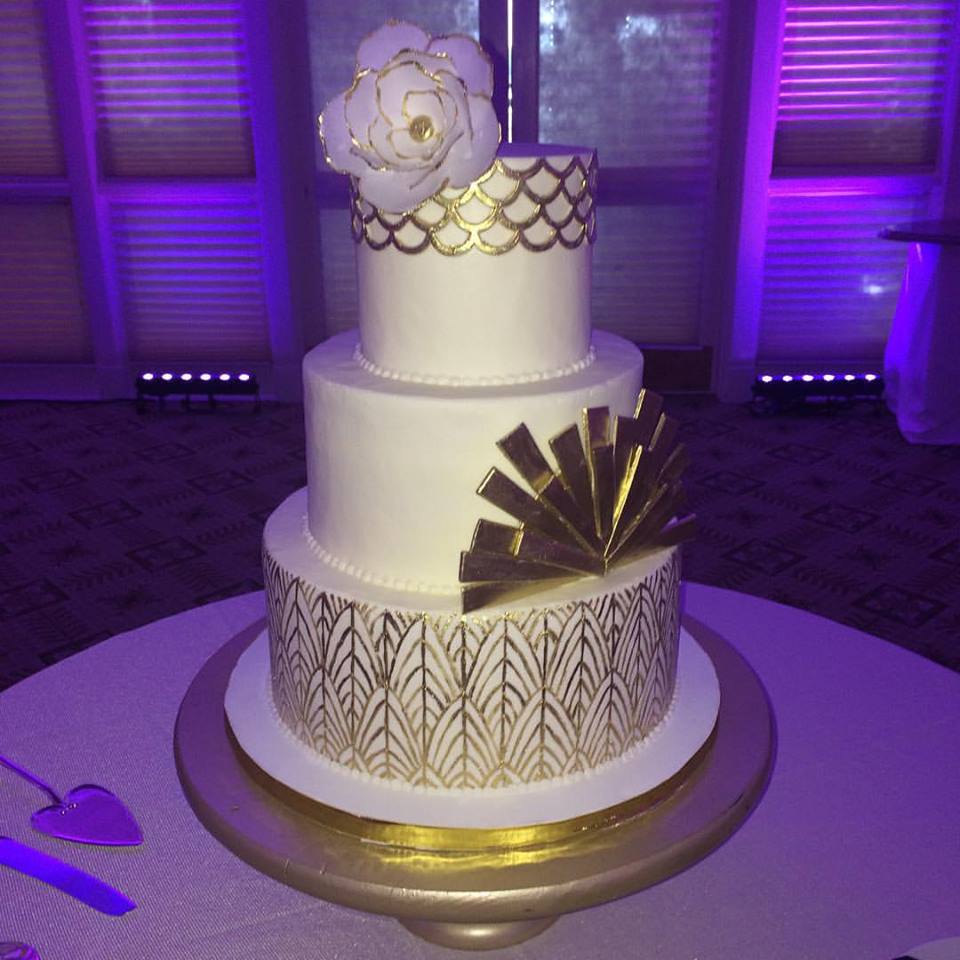
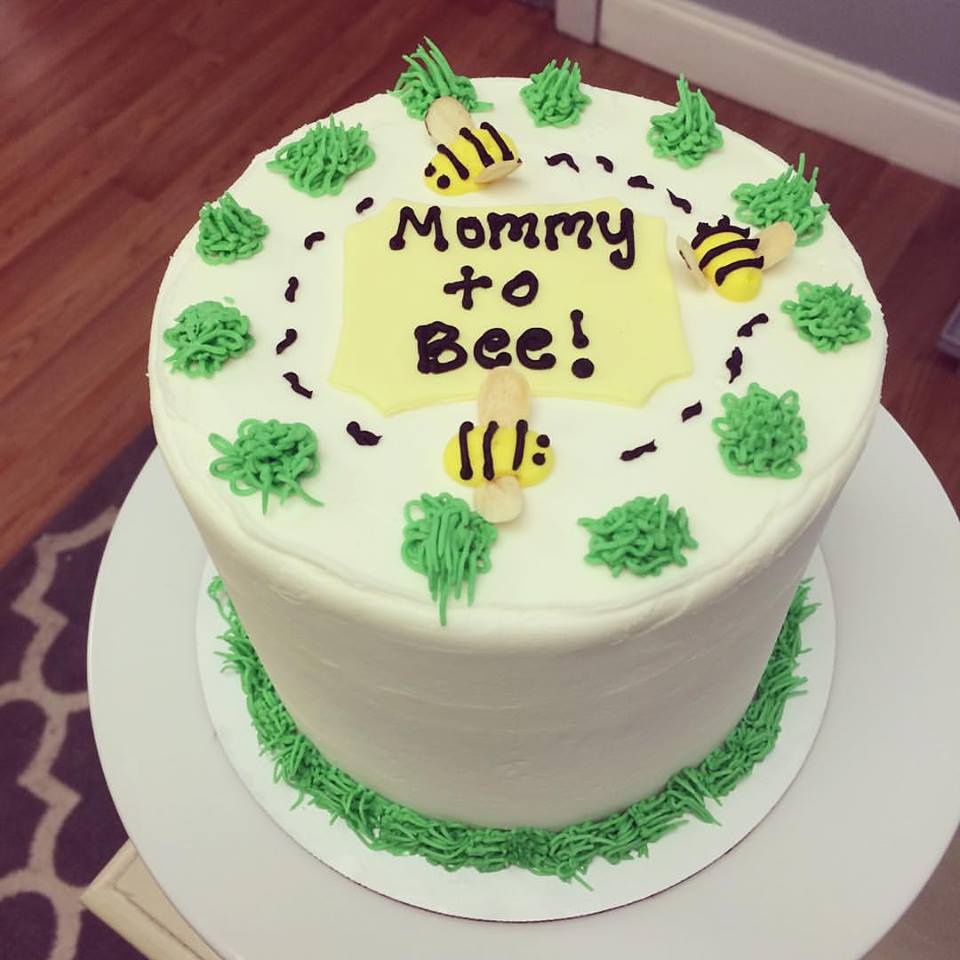
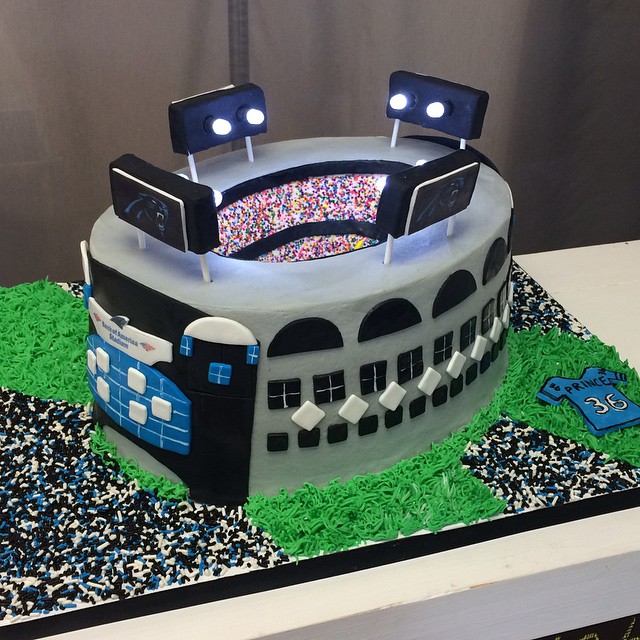
I’ve included some of the cakes we made throughout the years, for a little walk down memory lane, and to remind yall that I know what I’m talking about 😉 Follow my steps below and you’ll look like a pro!
And it starts with a few of the right tools.
There are affiliate links in this post, which means at no additional cost to you, I make a small commission on the purchases. These pennies help me continue to create content for yall, and it’s much appreciated!
- The pans MUST have straight sides, and here are some for you to buy…I always use 6 inch round by 2 inch high pans, and mine are three layers of cake, so this set of four pans gives you an extra pan! And also, be liberal with your pan spray (Bakers Joy), or cake release mixture (equal parts vegetable oil, shortening and all-purpose flour blended into a paste).
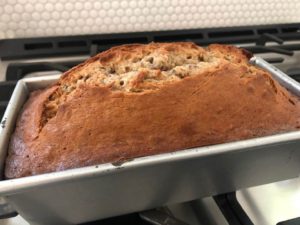
2. Don’t over bake your cakes! Some of yall are cooking your cakes WAY TOO LONG or on too high of a temperature! Double check that your oven is calibrated correctly. You only need to bake them until the skewer comes out clean! Also, you MUST start with a great recipe with plenty of fat. A lot of yall have dry, tasteless cakes because your recipes aren’t good. I’m sorry to be so harsh, but that’s the truth 🙂 You probably need more fat, more flavor, more salt, some extracts, etc.! If people aren’t GUSHING about your cakes, then something is probably wrong with the recipe! Here’s a link to my carrot cake RECIPE!
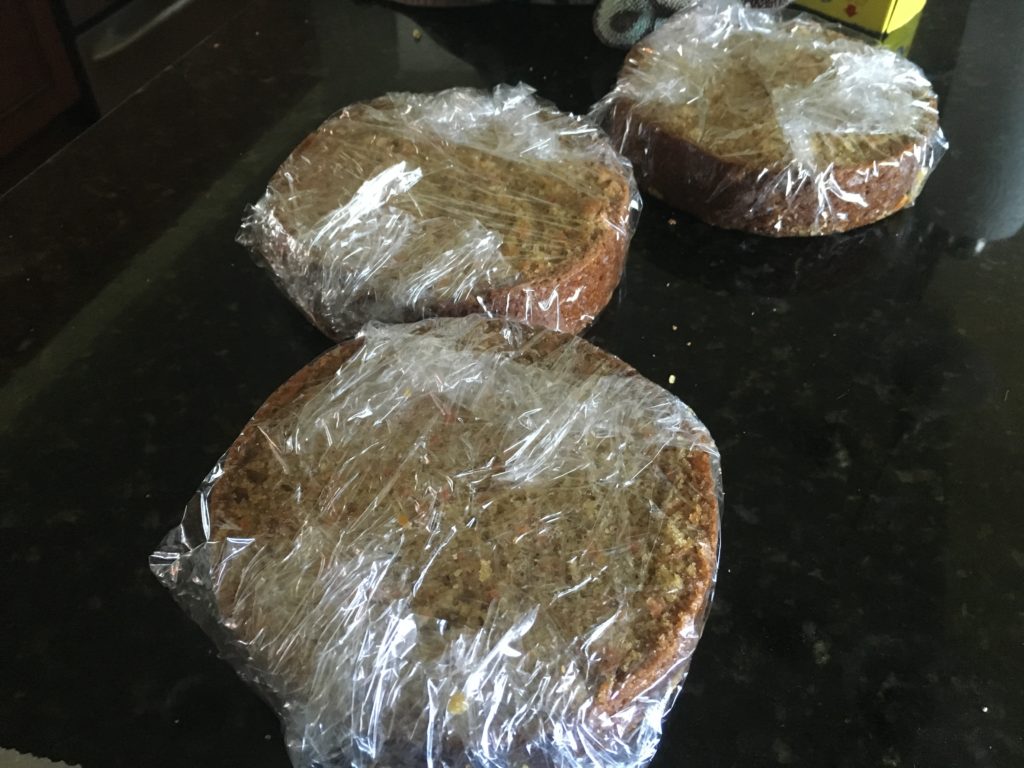
3. Once your cakes come out of the oven, let them cool for 20 or so minutes, and then it’s time to flip them out and put the bottoms of the layers on Saran Wrap. Using a cake leveler, take off the hump that has baked up. Of course you can use a serrated knife, but this ensures that you get a level layer AND it’s safer. Here’s a video on how to use this…
4. After you’ve leveled and wrapped the cakes, making sure to not squish the straight sides, you’ll put them in the freezer! YES, I SAID THE FREEZER.
Let’s dispel this rumor real quick that freezing cakes dries them out. It’s simply NOT TRUE.
Dry cakes are dry no matter what you do with them. And in my humble opinion, you shouldn’t have to use simple syrup to moisten a cake. Instead, have more fat and don’t over bake! Biology proves that steam helps keep moisture in things. This is why food commercials say “flash frozen to lock in moisture/freshness.” All of that steam in the cake, is going to rise up to the saran wrap and then fall back into the cake, locking in the moisture!
You can let them freeze for as long as you want, but I’d suggest at least 4 hours. If you’re going to keep them in there for a few days, also wrap them in aluminum foil, on top of the saran wrap. Freezing will not only trap in the moisture, but they will be easier to fill and ice the layers!
5. Once you’ve made the buttercream (my American buttercream recipe is HERE), and the filling (cream cheese filling recipe is HERE), it’s time to fill and stack the cake layers. After that, you’ll crumb coat the cake. Side note: can we agree to stop saying “dirty ice” like Buddy the Cake Boss says?! Crumb coating is exactly what it says…coating the cake to hold in the crumbs. Nothing “dirty” about it. Kthanks.
And if I had to suggest ONE caking tool that you’ll need for this step, it’s a turntable. You can make a cake without one, but it’s SO MUCH EASIER to use one, and watch my video for the why. As for piping bags, sure, you can use a ziploc bag with the tip snipped off, but again, these are much better (and more affordable), and don’t burst at the seam! Here’s the video on how to do that:
6. After you’ve crumb coated the tier, pop it back in the fridge for a minimum 30 minutes to let the buttercream harden up again! At this point, you can leave it in the fridge for a few days, but if you’re going to do that, I’d wrap it with saran wrap! Once you’re ready to do the final coat of buttercream, here’s how to ice it! You’ll need a few tools, and I’ll link them after the video! You’ll see the cake on a grease-proof cardboard round, me using an offset spatula to ice the cake, and a bench scraper to smooth it!
7. Once your cake is iced and smooth, you can put it back in the fridge and let the buttercream harden up again, and get ready for any decorating you want to do on it. If you’re looking to put sprinkles on it, don’t pop it in the fridge, and instead lift them up onto the cake while it’s still “sticky,” and then after they’re on, put the cake in the fridge. It doesn’t need to be wrapped again, as the buttercream has completely locked the moisture in and will keep air out.
When do you take the completely decorated cake out of the fridge? I always advise people to let the cake sit at room temp (if it’s been kept in the fridge) for about two hours before you plan on eating it! And after you’ve cut into it (if there’s any leftover), wrap it again and pop it back in the fridge!
That’s IT, folks!!! I’ve made THOUSANDS of cakes, and every single one had this same process! There really aren’t shortcuts to good looking cakes, and it takes time and patience to do it this way., but it will pay off ten fold in the final look of the cake! I still have one more trick to show yall, but that will come the next time I decide to make a cake!
Because I used to make wedding cakes for a living, I still get questions about how to freeze cakes, and/or thaw cakes! Here are those answers:
FAQs about freezing/frozen cakes
How do I freeze a cake for a long amount of time (ie top tier of a wedding cake)?
~Get the cake cold, wrap it in saran wrap, wrap it in aluminum foil. Then put it in a box, and wrap the box in saran wrap and aluminum foil. The wrap helps with the air staying out, and the foil helps with freezer burn.
How do I thaw frozen cake?
~Get the cake out of the box, and completely unwrap the cake tier, then put it back in the box, and leave it on the counter at room temperature. As the cake thaws, the moisture will evaporate into the cardboard in the box. It may take four hours or more to thaw completely!
PIN THE IMAGE BELOW PLEASE!


Such great tips! Can’t wait to use them for the next cake I make.
so glad you loved them!!! i’m hoping they’re helpful!
Now I really want to bake a cake! Thanks for the tips and tricks of the trade!
None of my caking recipes are healthy, you’ve been warned 😉
I love this post! I’m gonna try my hand at making my kids birthday cakes, instead of just buying them- I think it makes a sweet tradition to start- and these are perfect tips to get me started! Thank you!
I love to hear that, and I promise you can do it! BUT, if you have to go the store-bought route, just know that’s okay too! I sometimes try to convince mine they want a cookie cake or ice cream cake so I don’t have to make an elaborate cake LOL!
Thanks so much for making the “Christina” cake shown in your blog for my daughter’s wedding 4 years ago! It was absolutely beautiful as well as delicious! Still wish you were in business as I have 2 more daughters to go! 😊
Hi Cindy!!!
It’s still one of my most favorite cakes ever made!!! And yall were a dream to work with! xoxo